.webp)

George Howes
Master the simple steps on how to install Facebook Pixel on Shopify to supercharge your ad campaigns. Turn insights into sales with our essential guide!
If you're a Shopfify store owner, you've probably heard of the Meta (Facebook) Pixel. This powerful tool can turn your online store into a highly targeted advertising machine, letting you track and optimise your Facebook ads based on customer behaviour.
But if you can't tell a Meta Pixel from, well, a pixel on your screen, don't worry. We'll explain how to install the Meta Pixel on Shopify so that you can start using it to grow your business.
The Facebook Pixel, or Meta Pixel, is a small piece of code that you place on your website. It collects data about how visitors interact with your site, letting you track numerous actions such as what they add to their carts, what pages they visit, and the products they purchase.
This data is then sent back to Facebook, where it's processed and stored in your Facebook Ads Manager. With this information, users can create highly targeted ads that speak directly to their desired audience.The Pixel allows for an in-depth understanding of customer behaviour, enabling advertisers to design ad campaigns that reach the right people at the right time.
Once you’ve set up a Facebook pixel, you can track standard events such as:
Each action or interaction provides a snapshot of customer behaviour, offering insights that can potentially enhance user experiences and your advertising strategies.
If your Meta Pixel isn't tracking actions on your Shopify store, you can create a custom pixel code to fix this. This involves using some special code (JavaScript SDK) and choosing which customer actions you want to track. Though this method offers detailed tracking, Shopify suggests trying available apps first. These apps might offer a simpler and possibly more stable, secure, and efficient solution for tracking user actions than creating custom code.
So why go through all the hassle of adding a meta pixel to your Shopify store? Some specific benefits of using a meta pixel on Shopify include:
The Facebook Pixel allows you to retarget website visitors with specific ads or content based on their behaviour on your Shopify store.
Let's say, for example, that your visitors tend to add products to their cart but then abandon them before purchasing. Using this information gained, you can retarget these visitors with ads showcasing their previously viewed products with a discount code to finish their purchase.
By retargeting familiar leads further down the sales funnel, you’re more likely to increase conversion rates and improve ad performance.
Once you understand how your visitors interact with your site, you can use this data to create custom audiences for your ads.
A custom audience could be anything from large-ticket items buyers, to frequent visitors who haven’t made a purchase yet. By creating custom audiences, you can tailor your ads to reach specific groups of people with different messaging and offers.
For example, if you've noticed a specific product page receives a lot of traffic, your custom audience would those specific visitors. Since they’ve shown some interest, you can then target them with related products or offers.
Facebook also allows advertisers to create lookalike audiences based on their custom audiences. Lookalike audiences are groups of people who have similar characteristics to your existing customers or website visitors. This means you can target new people who closely resemble your current target audience, increasing the chances of conversion.
Understanding how visitors behave on your site gives you first-hand information to improve it. By identifying which pages visitors stayed the longest or shortest, you can pinpoint where your site excels and where it may need enhancements.
For example, if there’s a large drop-off rate at your checkout page, they may be experiencing issues with the payment process. Of course, it is just a snapshot, so you’ll need to dig deeper and find out what the issue is. However, the Meta Pixel gives you a starting point, highlighting areas that might need a closer look.
Additionally, you’ll want to optimise your website for mobile users. With the rise of smartphones, a large portion of website traffic comes from mobile devices. Therefore, your website should be optimised for all screen sizes and resolutions to provide a seamless experience for all users.
We now understand what a Facebook Pixel is and why you need one for your Shopify store. Now, it's time to learn how to add facebook pixel to shopify:
The first step is to set up your Pixel on Facebook.
If you haven't done this already, you can read an in-depth guide on how to create a Facebook Pixel. But for the meantime, we'll give you a quick summary.
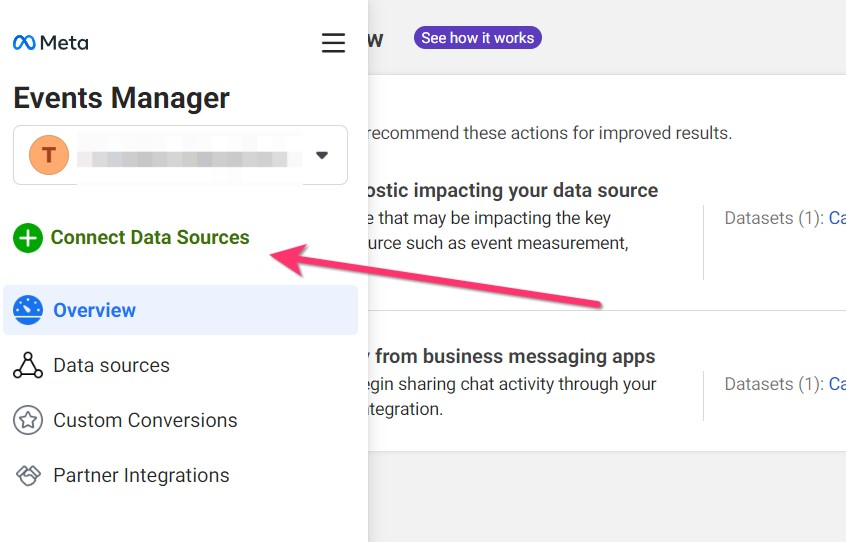

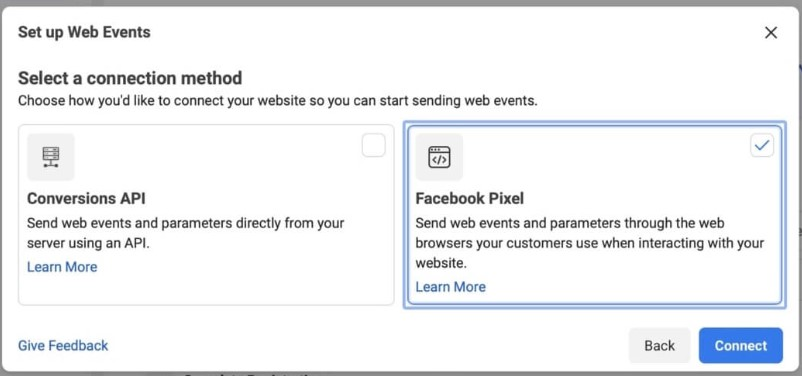
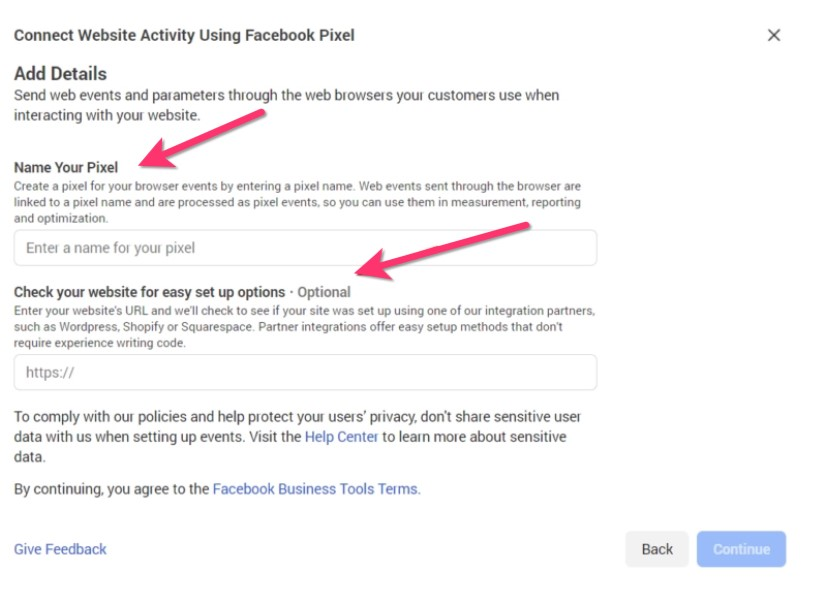
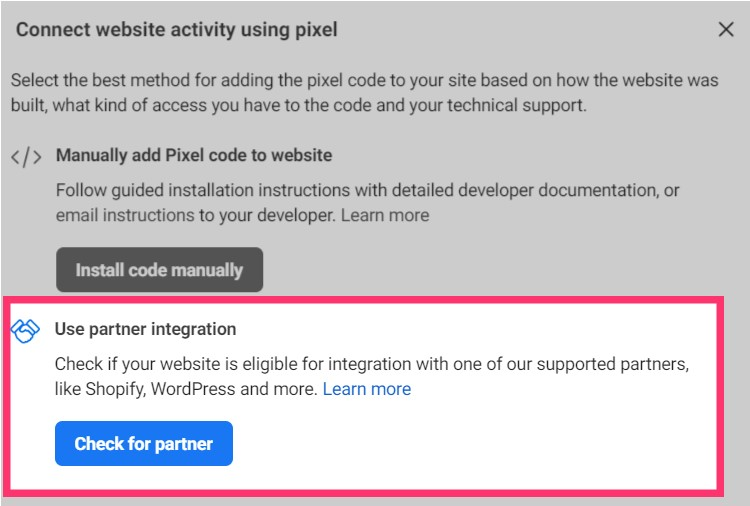
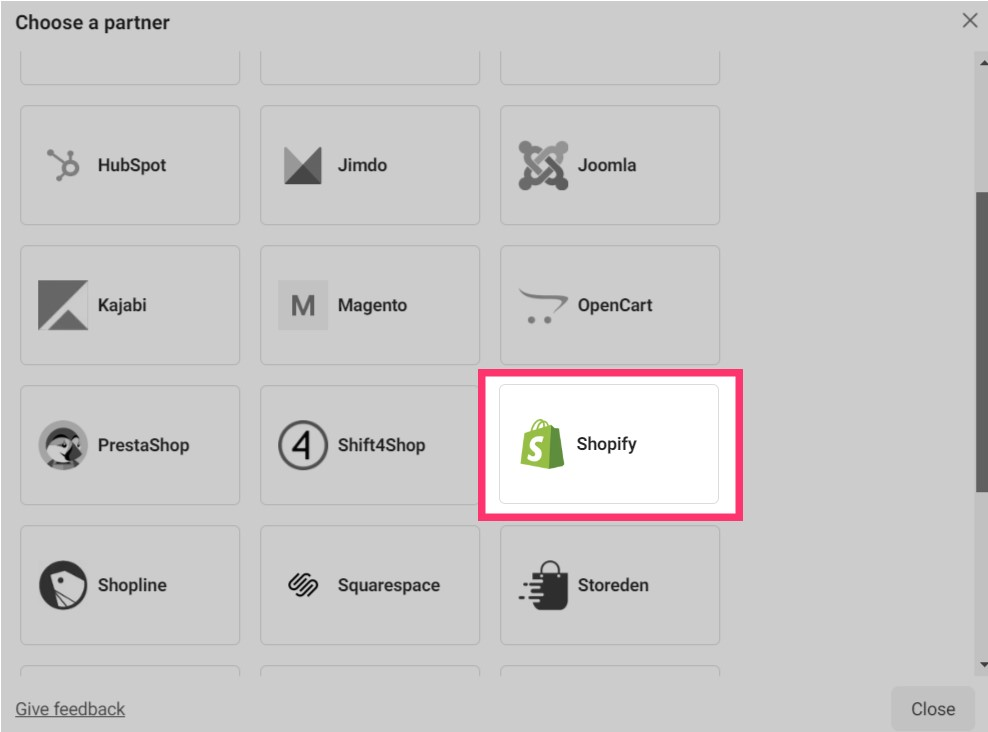
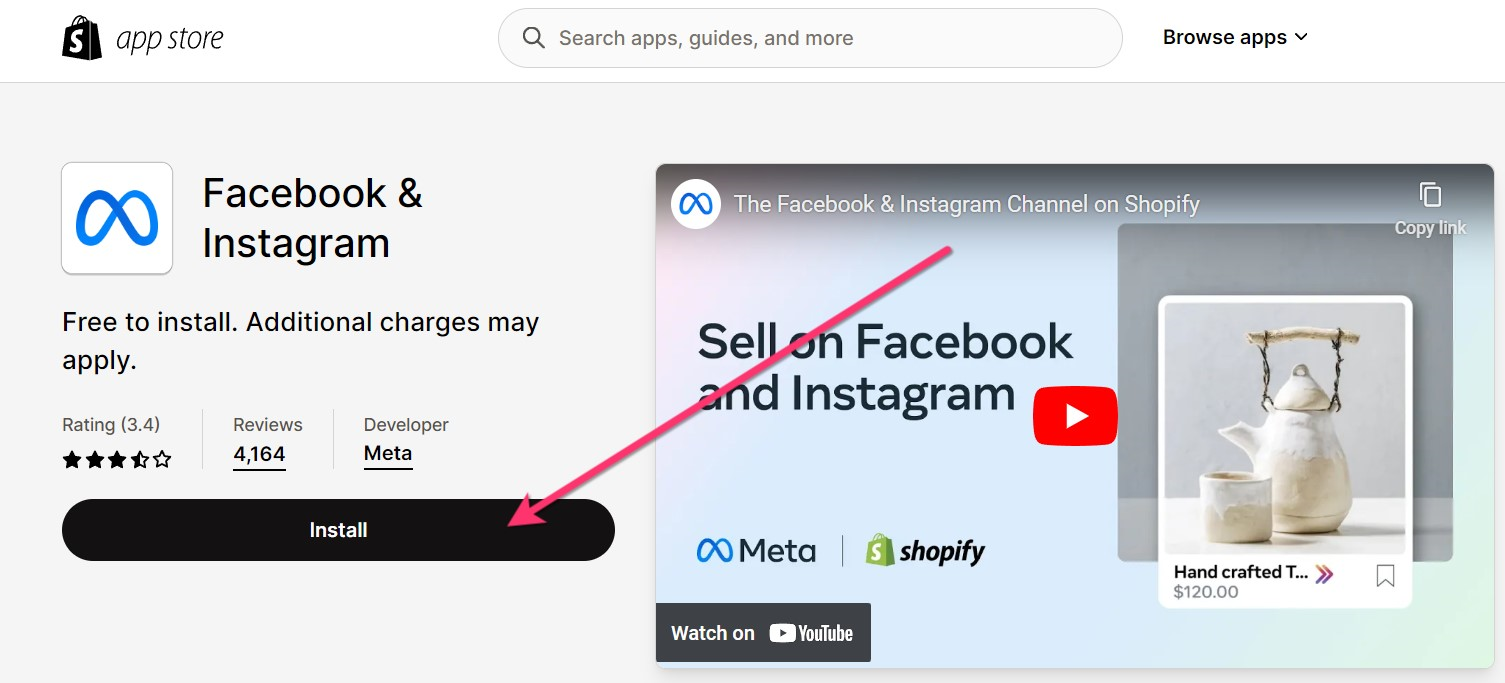
Now it’s time to learn how to add your Facebook Pixel to Shopify. The good news is Facebook and Shopify are partners, making the integration setup fairly straightforward:
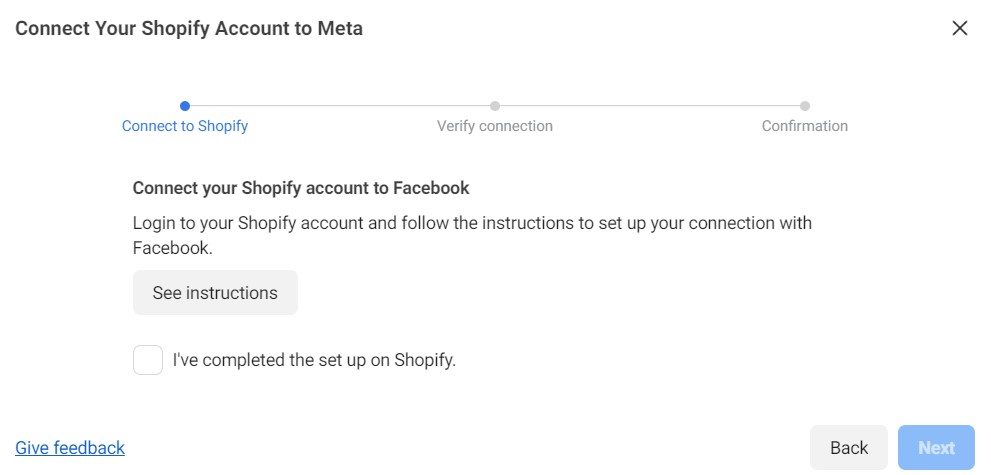
Check the verification was successful by submitting your URL in the next screen. If the red dot above turns green and says your activity has been registered, your Pixel is registered. However, it can take longer (up to 24 hours) for Facebook to fully process the information from your website, but in most cases, it shouldn't take over 10 minutes.
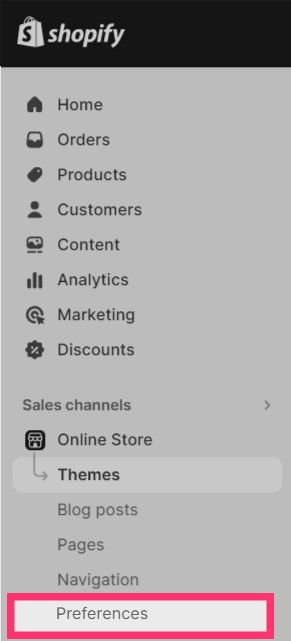
Once your Facebook pixel has been created, follow these steps to locate it:
To delete Facebook pixel on the Shopify store, follow the steps below:
Setting up events means using Facebook’s tool to track specific actions people take on your website, like clicking a button or visiting a page. Understanding these visitor interactions can then help you to develop various strategies, such as what ad content or organic content to create and which parts of your website to improve.
To set up events with Facebook, do the following:
To really harness the benefits of Facebook's Event Setup Tool, here are a few extra tips to keep in mind:
Effective retargeting can help make semi-interested visitors into loyal customers. However, this transition isn’t always seamless and can be a tricky one. That's where the combination of Facebook Pixel and Shopify comes in.
By implementing nuanced strategies from Facebook Pixel and Shopify, you can tap into the vast potential of retargeting and massively boost sales. Follow these steps to turn your Facebook ads into a powerful tool for retargeting:
Start by identifying different visitor behaviours, such as browsing without purchasing or abandoning carts, and list these visitors as custom audiences. While you can have as many segments as you want, start with a few key ones to avoid overwhelming yourself.
With your custom audiences, create Dynamic ads that speak directly to that person's pain points with a solution. For example, for cart abandoners, offering an incentive i.e a discount code or free shipping may encourage them to complete the purchase.
If you’re retargeting website visitors on multiple platforms i.e Instagram, and the Audience Network, your messaging should be tailored to the user experience on each platform. TikTok users, for example, typically engage with short, trend-driven, attention-grabbing videos, whereas LinkedIn is better suited for professional and informative content.
Remember to always focus on incorporating exceptional copy and visuals that’s tailored to your custom audience. And if you need ad inspiration, use free tools like MagicBrief’s Facebook advertising library to save and analyse competitors ads.
When creating your retargeting ads, try including limited-time offers or discounts to in still a sense of urgency. When you in still FOMO (Fear of missing out), people are more likely to take action and make a purchase.
You’ll also want to ensure that the offer is genuine, valuable, and easy for the visitor to redeem. You don't want to deceive or trigger your leads by creating insincere promotions overcomplicating the process.
Now that your Facebook ads are underway, it’s time to track their performance.
Use Facebook Analytics to see which retargeting campaigns are performing best. This tool allows you to track conversions, clicks, impressions, and more, providing valuable insights into the success of your ads.
You can also conduct A/B tests to compare different ad formats, images, copywriting techniques, and targeting strategies to determine what resonates best with your audience. Continuously analyse and optimise your Shopify retargeting campaigns to maximise your ROI.
Sometimes, you have to look beyond the numbers and ensure that your retargeting strategies are ethical and respectful towards your audience.
The goal isn’t to bombard your custom audiences with too many ads or overly aggressive messaging, it’s to strike a balance between effective retargeting and respecting their digital space. Here are a few points to consider:
By implementing these steps, your retargeting campaigns can be more personalised, strategic, and effective in converting interested visitors into customers. Always ensure that your strategies are customer-centric, providing genuine value and a positive brand experience.
Installing and fully utilising the Facebook Pixel for Shopify can greatly benefit your online business. However, many store owners simply install the pixel and forget about it, ignoring invaluable data that could drive up sales. By following the steps outlined above, you can use retargeting to reach and convert people you never thought possible, turning casual browsers into loyal customers.
Remember to continuously analyse, optimise, and respect your audience for successful retargeting campaigns. So go ahead and start implementing these strategies to take your Shopify store to the next level!